Image credit: Amara
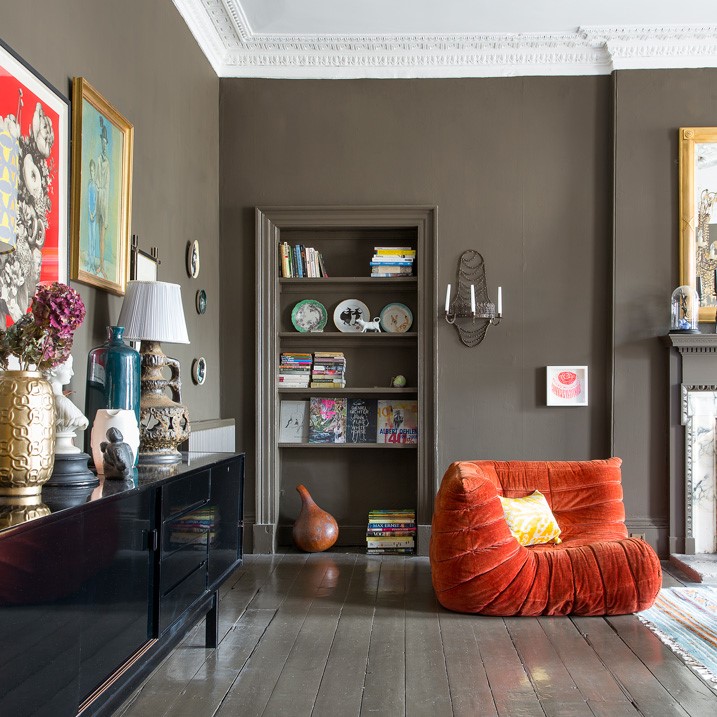
Looking for ways to bring a little character into your space? If you have a home of a certain age that’s crying out for some attention, it can be difficult to know where to begin, but there are many ways you can flex your DIY muscles and bring back period features to any room. That's why we're celebrating our five favourite re-emerging interior design trends to bring some period charm back to your home – the DIY way!
Dado Rails
.jpg)
Image credit: Simon Whitmore
Dado rails are a vital feature of most period houses. Originally designed to keep the back of chairs from damaging wallcoverings, they’re usually installed at a height of around 1m. Dado rails also provide a handy border to separate different colours on a wall.
When choosing a dado for your DIY project, it helps to go for a style that compliments your mouldings. There are many different styles , from plain to a decorative egg and dart design. Think of the width in proportion to the size of the space it’s going to occupy, e.g. if you’re putting one up in a thoroughfare, you’ll need to keep enough room to move furniture without the risk of damage.
You can easily fix a dado rail in place with wood adhesive and screws. They’re available in softwood (redwood) and a variety of hardwoods. When matching up to the rest of your wooden mouldings, paint in eggshell or gloss, or you can wax or varnish if you prefer.
Coving

Image credit: Wm. Boyle
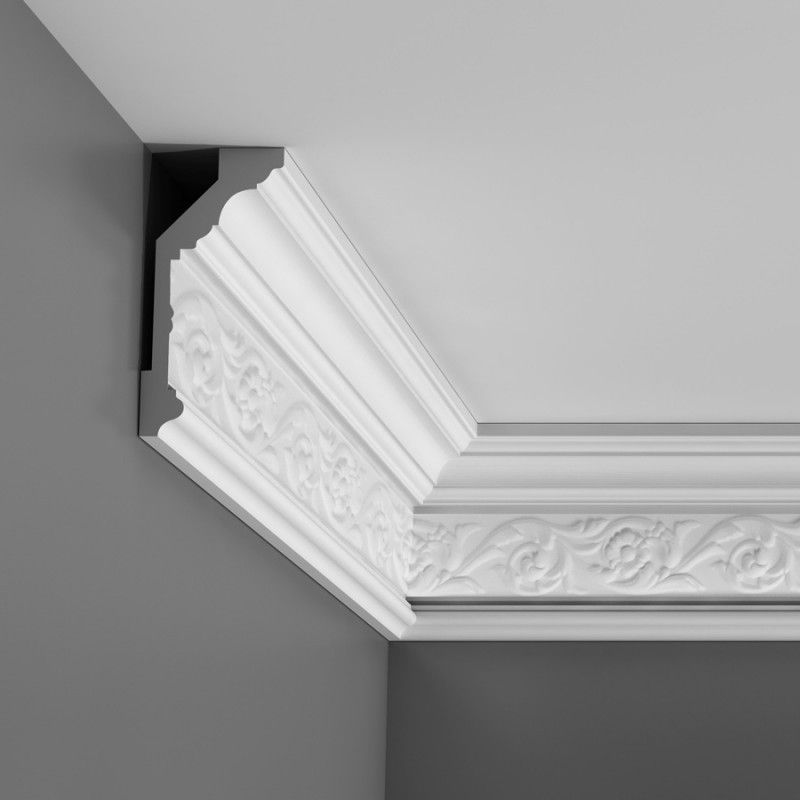
Coving, also known as moulding, is the strip of material used to cover the join between wall and ceiling, sometimes decoratively. Plaster coving became a staple of Victorian and Edwardian houses once mass availability of set lengths of cornice was possible.
Many homeowners who move into period homes where coving has been removed are understandably keen to reinstall. Fitting some impressive coving is an ideal way of turning a plain room into a visually stimulating place. Coving adds a stylish and elegant finish to a room, also bringing character that can really enhance an interior design theme. It also has the bonus of adding value to a property.
For a DIY project, installing coving couldn’t be easier! Ready-to-mount mouldings of different styles can be ordered from many suppliers, which are then cut into shape to be glued into place with purpose designed adhesive.
Victorian Tiles
Victorian tiles an another interior design trend that's making a big splash in 2024. They're a stunning way to introduce period charm to your home, offering a timeless appeal that blends beautifully with both traditional and contemporary interiors. These intricately patterned tiles, often featuring bold colours and geometric designs, were a hallmark of Victorian décor, adorning hallways, fireplaces, and kitchens.
Installing Victorian tiles requires precision and a litte attention to detail. Prepare the surface thoroughly, ensuring it's clean, level, and dry. Lay out the tiles beforehand to plan the placement and pattern, then use adhesive to fix them in place. Grouting between the tiles will help to secure them and complete the look.
To keep them looking pristine, Victorian tiles should be regularly cleaned and sealed, protecting them from wear and tear. By incorporating these timeless tiles into your home, you can enjoy the elegance and durability that has made them a beloved feature for generations.
Tongue and Groove

Image credit: The New & Reclaimed Flooring Company
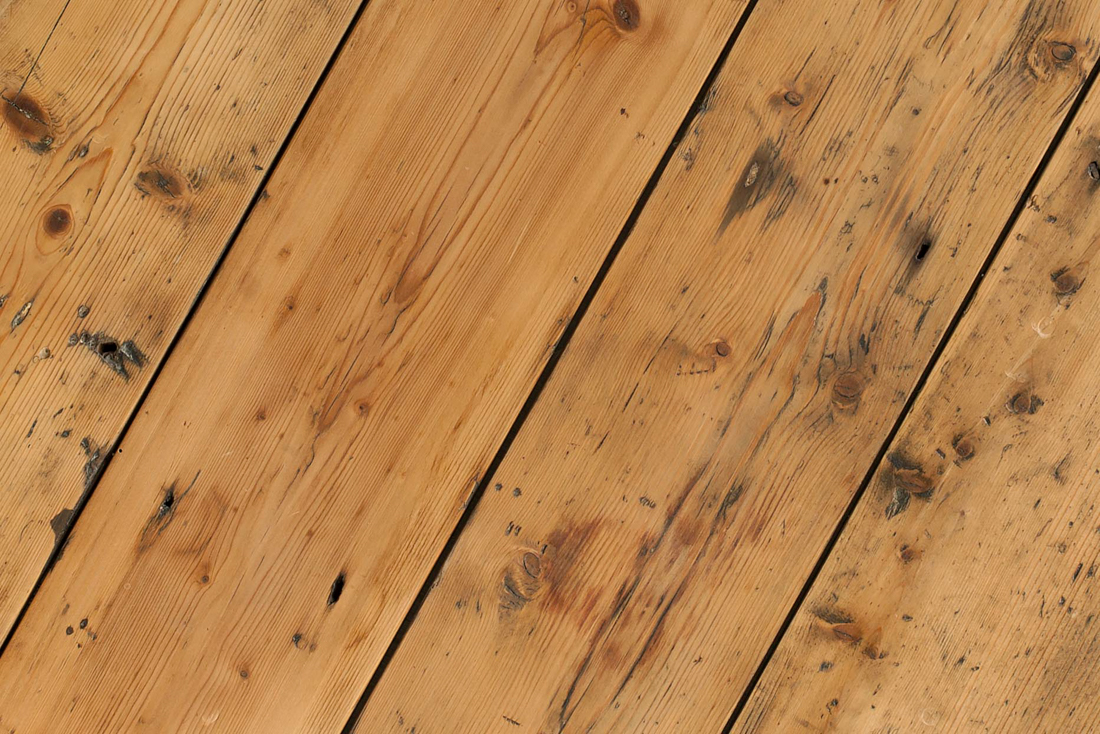
There’s nothing like walking into a home to be greeted by some beautiful wooden flooring, which immediately sets a tone of warmth and beauty in a period home. Tongue and groove flooring, which allows planks to be fitted tightly together, edge to edge, has been around since 1885.
When choosing the ideal wood for your DIY venture, the most durable hardwoods are oak, maple and cherry. But these choices are also the most expensive, so if you’re on a budget then opt for a softer type such as pine.
So which wood is the best for your rooms? White and pale grey wood are perfect for quieter rooms and their lightness considerably enhances space in a small room. But they also show up dirt and offer a more contemporary look than warm looking, honey-toned floors which are great for larger spaces that want to feel cosier. Mid-toned wood is the perfect choice for creating a relaxing and traditional finish.
Self-Install Shutters

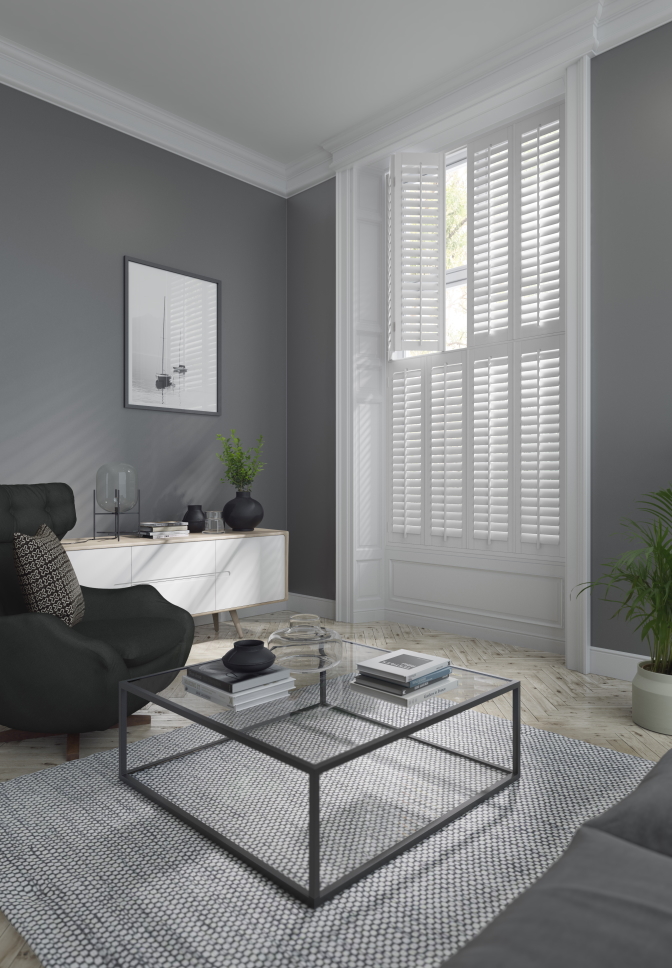
What could be more traditionally English than a wooden shutter? They’ve been a feature of UK homes for over 200 years and when you want more control over light coming into your space, they're perfect. Shutters add sophistication and style whilst offering privacy, heat insulation and noise reduction. Whether you choose full height, café style, or tier-on-tier, shutters will perfectly compliment any classically designed room.
The installation process is super straightforward too, involving a few basic tools and a bit of patience. Our detailed online measuring and installation guides provide step-by-step instructions, ensuring even novice DIYer can get a professional finish. By opting for self-install shutters, you not only save on installation costs but also get the satisfaction of adding to your home's unique character.
Any Questions?
We're always happy to answer your questions, whether its on measuring, installing, or finding the right design for your space. Send an email today to
[email protected] and one of the team will be in touch soon.
Ready to get started? Shop our DIY Shutters today and find your style.